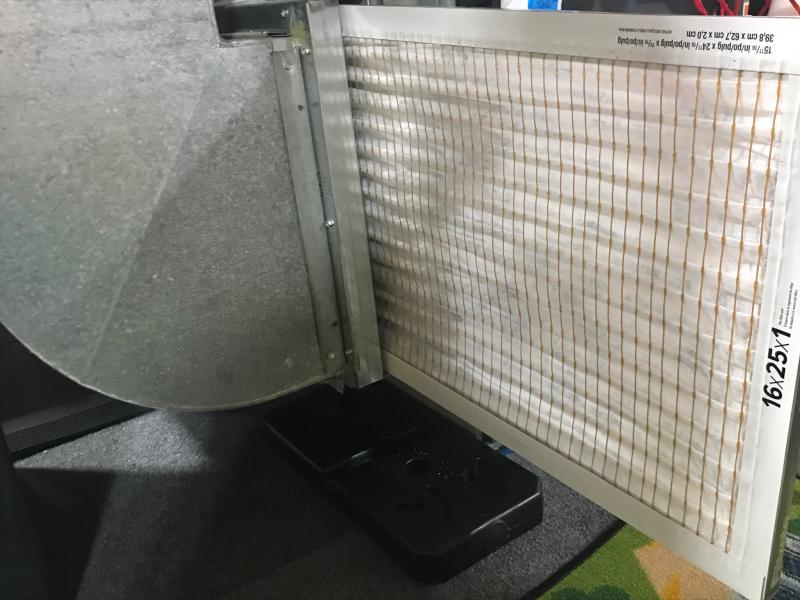
Furnace filters are a vital part of your heating and cooling system. Standard 1″ filters, when changed on a regular basis, will keep your HVAC system running efficiently. Replacing your furnace filter to a clean one helps to keep cleaner indoor air, lowers energy costs, assists in a cleaner HVAC system, and extends the lifespan of the heating and cooling system.
The general rule of thumb is to check your filter’s cleanliness every 30 days. For your system to run correctly and in great condition, the HVAC filter should be cleaned or changed on a regular, monthly basis, especially during peak HVAC operation seasons.
Why is It Important to Replace Your HVAC Filter?
Your HVAC filter is important to your home’s air conditioning and heating system. It helps to remove dust, dirt, pollen, and other pollutants from the air before it circulates throughout your home. A dirty or clogged filter can reduce the efficiency of your HVAC system, leading to higher energy bills and decreased indoor air quality.
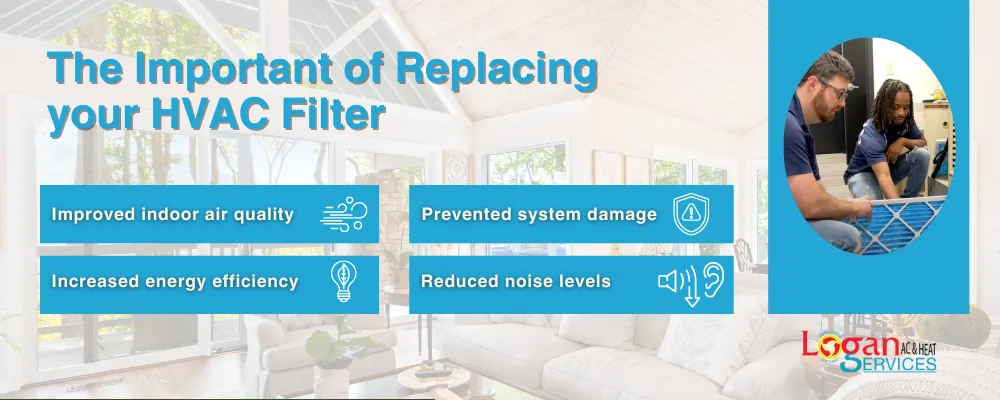
Here are some of the reasons why it’s important to replace your HVAC filter regularly:
- Improved indoor air quality. A dirty or clogged filter can allow pollutants to circulate throughout your home, which can trigger allergies, asthma, and other respiratory problems. Replacing your filter regularly helps remove these pollutants from the air, improving indoor air quality and reducing your risk of health problems.
- Increased energy efficiency. When your HVAC filter is dirty or clogged, it has to work harder to push air through the system. This can lead to higher energy bills and decreased system efficiency. Replacing your filter regularly helps keep your HVAC system running smoothly and efficiently, saving you money on your energy bills.
- Prevented system damage. A dirty or clogged filter can put extra strain on your HVAC system, leading to premature wear and tear. Replacing your filter regularly helps protect your system from damage and extend its lifespan.
- Reduced noise levels. A dirty or clogged filter can restrict airflow through your HVAC system, leading to increased noise levels. Filter replacement helps keep your system running smoothly and quietly.
How Often do You Need to Replace Your HVAC Filter?
How often you need to replace your HVAC filter depends on many factors, including the size of your home, the type of HVAC system you have, and the level of air pollution in your area. In general, you should replace your filter every 1-3 months. However, you may need to change your filter more often if you have allergies or asthma.
Standard 1″ HVAC Filter Replacement
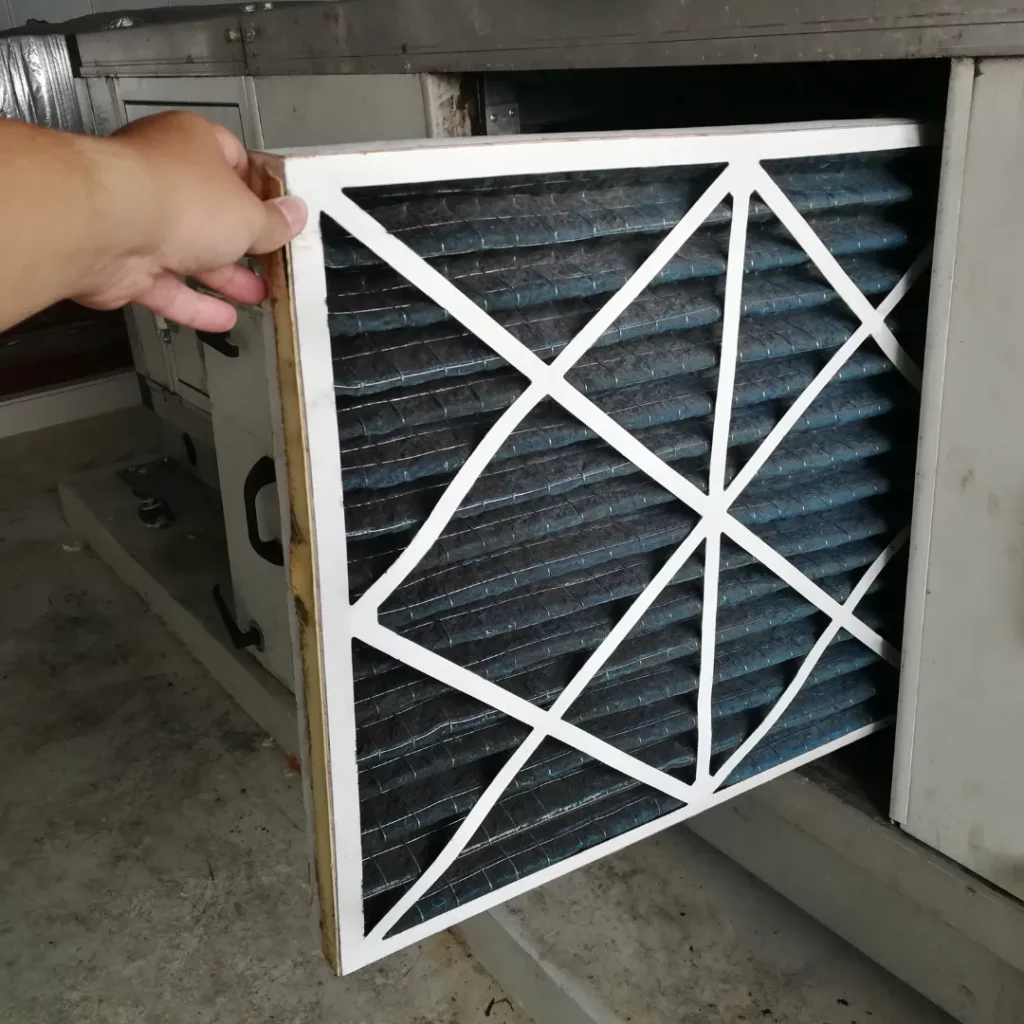
If it’s time to replace your filter, follow our step-by-step guide on how to replace a standard 1″ filter:
- Locate Your Furnace Filter: Some filters are located in the ceiling, but the most common location for the HVAC filter is in the ductwork near the furnace.
- Find the Arrow that Says ‘Airflow’: This is located on the white edge corners of the standard 1″ filter.
- Make Sure the Arrow Points Toward the Furnace. Open the small filter rack door and slide the filter into that opening.
- Shut the Filter Door: Once the filter is in the rack correctly, you should shut the door to the filter rack tightly.
Additional Tips for Choosing and Changing Your HVAC Filter:
- Choose a filter that is the correct size and type for your HVAC system.
- Choose a filter that is rated for the level of air pollution in your area.
- Change your filter every 1-3 months.
- Inspect your filter regularly for signs of dirt, dust, or debris.
- If you have allergies or asthma, you may need to change your filter more often.
Changing your standard furnace filter is an easy way to keep your system working at its best and helps save you money in the long run. Did you know that Logan Services also sells standard 1″ furnace filters for the Dayton, Columbus, and Cincinnati areas? Visit our filter page to learn more about pricing and sizes.
The Importance of Regular HVAC Maintenance
By performing regular HVAC maintenance, like filter changes, you can extend the lifespan of your system and ensure you maximize efficiency. Here are some key reasons why you should keep up with HVAC maintenance tasks:
- Increased energy efficiency. When your HVAC system and filter are properly maintained, it improves the efficiency of your overall system. This keeps your energy bills down and maximizes the value you get from your system.
- Prevented system damage. A dirty or clogged HVAC system can put extra strain on the system, which can lead to premature wear and tear. Regular maintenance helps protect your system from damage and extend its lifespan.
- Reduced noise levels. A dirty or clogged HVAC system can restrict airflow, which can lead to increased noise levels. Performing routine maintenance keeps your system running smoothly and quietly, so you can enjoy a comfortable and peaceful home.
How often you need to have your HVAC system maintained depends on a number of factors, including the type of system you have, the climate you live in, and how often you use your system. In general, you should have your HVAC system serviced at least once a year.
When you have your HVAC system serviced from the Logan Services team, one of our qualified technicians will come out and inspect your unit for any problems. Then, we can make recommendations based on our decades of experience in the HVAC industry. We will also clean your system and replace any worn or damaged parts. By having your system serviced regularly, you can help to ensure that your unit runs efficiently, and your indoor air quality is as good as it can be.

When Is It Time to Call the Experts?
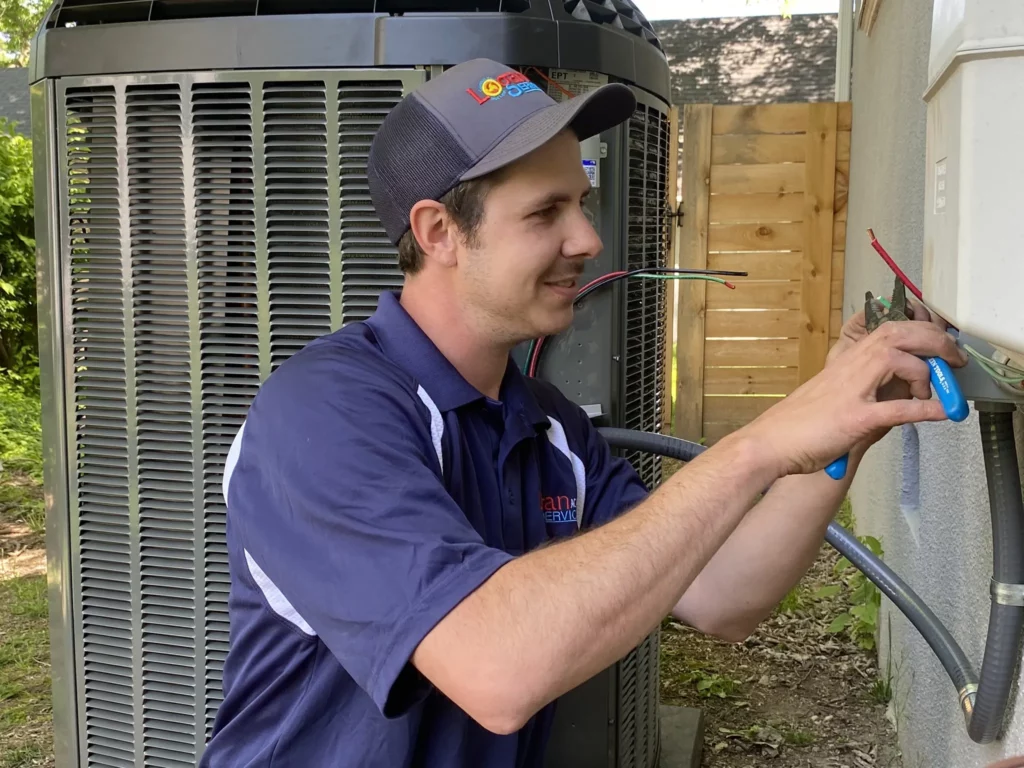
While some HVAC problems, like an old filter, can be replaced by the homeowner, there are some situations where you need to call in the experts. Here’s why it’s important to reach out to professionals for help:
- Safety: HVAC systems can be dangerous to work on if you are not properly trained. If you don’t know what you’re doing, you could injure yourself or damage the system.
- Complexity: HVAC systems are complex pieces of equipment. If you are not familiar with how they work, it can be difficult to diagnose and fix problems.
- Warranty: If you damage your HVAC system while trying to fix it yourself, you may void the warranty.
If you are experiencing serious problems with your HVAC system, it is best to call a qualified technician. They will be able to diagnose the problem and fix it quickly and safely. Here are some of the signs that you should call an HVAC expert:
- Your HVAC system is not… cooling or heating your home properly.
- Your HVAC system is… making strange noises.
- Your HVAC system is… leaking water.
- Your HVAC system is not… turning on or off properly.
- You smell something burning or foul coming from your HVAC system.
If you see any of these signs, it is important to call an HVAC expert as soon as possible. Trying to fix the problem yourself could make it worse and could also void your warranty.
About Logan Services A/C, Heat & Plumbing
If you’re having problems with your HVAC system or are looking for a system replacement, Logan Services A/C, Heat & Plumbing can help. We are a family-owned and operated HVAC company that has served Ohio since 1969. We offer a wide range of HVAC services in the Dayton, Columbus, and Cincinnati areas, including installation, repair, and maintenance of heating and air conditioning systems.
Logan Services is committed to providing our customers with the highest quality of service possible. Our team of experienced technicians is highly skilled and knowledgeable, and we use only the latest equipment and technology. From the moment we step into your home, we are careful and considerate, and we are here to answer any questions or concerns you have. We are also fully licensed and insured, so you can be sure that your home is in good hands.
We understand that your comfort is important, and we are here to help you achieve it. We offer same-day estimates and next-day installation, so you can get back to enjoying your home as soon as possible. If you’re looking for reliable and trustworthy HVAC professionals, choose Logan Services A/C, Heat & Plumbing. Contact our friendly team today to get started.
FAQs HVAC Filter Replacement
What is an HVAC filter?
An HVAC filter is a component of the heating, ventilation, and air conditioning system responsible for trapping airborne particles, such as dust, dirt, and allergens. It is installed in the air handling unit or the return air grille that supplies air to your home.
Why is it important to replace HVAC filters?
Replacing HVAC filters is crucial to maintaining the airflow and quality of the air in your home. A clogged or dirty air filter reduces the efficiency of the HVAC system by obstructing the airflow. This situation may lead to increased energy consumption, higher utility bills, and overheating of the system, among other issues. Moreover, a dirty filter increases the concentration of airborne allergens, bacteria, and pollutants, aggravating allergies and respiratory problems.
How often should I replace my HVAC filters?
The frequency of replacing HVAC filters depends on several factors, such as the type of filter, the indoor air quality, the number of occupants, and the presence of pets in the home. However, as a general rule, it is recommended to change the filters every one to three months or when they become dirty or clogged. If you have pets or allergies, you may need to replace them more frequently.
How do I know when to replace my HVAC filters?
You can tell that your HVAC filters need replacement if they look dirty, clogged, or discolored, or if it’s been up to 3 months since you last cleaned or replaced them. We always recommend checking your filter once a month and paying extra attention to them during peak heating or cooling season, as heavy system usage will wear on them quicker.
Contact Us | Request Maintenance | Request Service

