Everyone has a furnace filter in their home HVAC system and it’s an essential part of keeping the air in your home clean. It’s important to stay in the habit of changing out your furnace filter on a regular basis to keep your HVAC system running efficiently and helping you breathe in clean, filtered indoor air. You may have a standard furnace filter or a Perfect Air Plus (PAP) filter. While there is a process to changing out any type of filter, PAP filters have an 8-step process to carefully follow to make sure your PAP filter is changed correctly.
So if you aren’t sure how or you just need a reminder here is the step-by-step guide on how to change your electronic air cleaner in your heating and cooling system. Craig, one of our Logan Services technician experts, will show you in the video how to change out the filter in your Perfect Air Plus:
1. Turn Power Off To Furnace
First, you will want to turn the power off to the furnace from the switch on the side or from the breaker box if you don’t see a switch. If the furnace is running a heating cycle you will want to make sure you turn it off at the thermostat first to allow it to properly cool down.
2. Take Out PAP Filter & Unplug
Once you have turned the power off it is then safe to remove the filter cage. You will want to pull out the filter cage and unplug it from the wire it’s connected to.
3. Open The Perfect Air Plus Filter Cage
Pop open the 2 red tabs on each side to open the top portion of the filter cage.
4. Remove Old PAP Filter
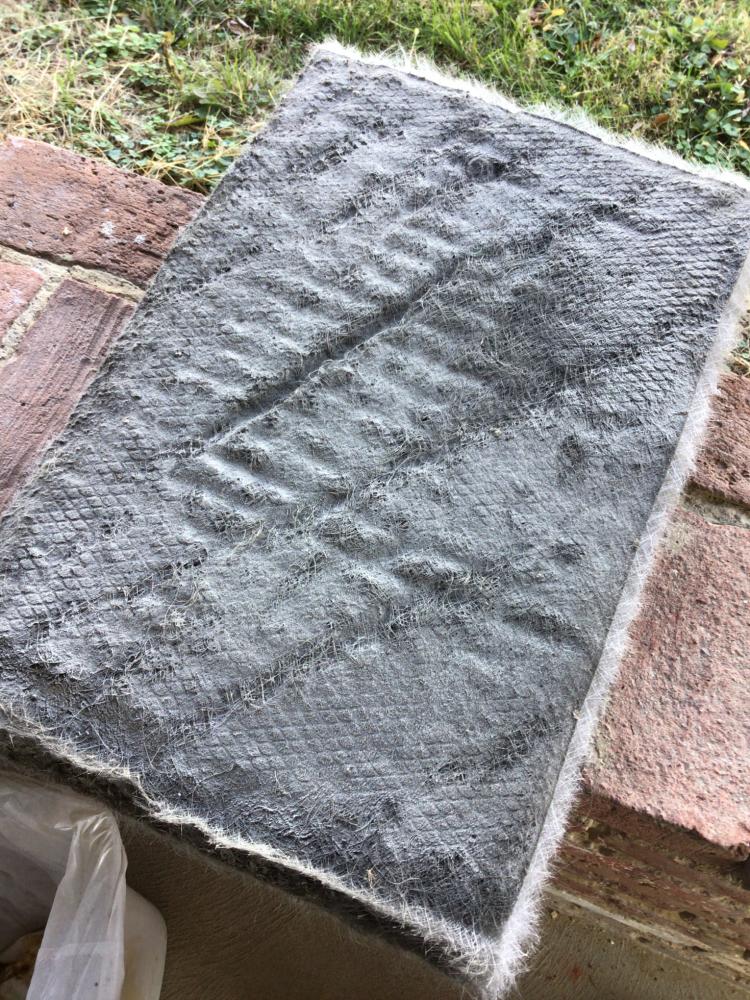
Carefully remove the old Perfect Air Plus filter. Nicely roll the old filter up so that you are not spreading dust on yourself or into the air. Then you can throw away the old PAP filter in the trash.
5. Connect Filter Sticker & Probe
When putting in a new PAP filter insert, pay close attention that the sticker on the filter is over and making contact with the electronic probe. The contact between the sticker and the electronic probe puts the charge into the filter.
6. Fit PAP Filter In Cage
Push filter to the bottom of the cage – if you try to center it and don’t push the filter insert to the bottom you will end up with a gap at the bottom.
7. Close Perfect Air Plus Cage
When you close the top portion of the filter cage the filter insert will be squeezed forward and will fill the whole cage. You will then push down the 2 red tabs on each side to securely close the filter insert in the cage.
8. Reconnect PAP Filter & Power On
Reinsert the filter cage in the rack on the furnace, reconnect the wire making sure it is pushed all the way in. Then you can turn the power back on to the furnace, when doing so you should see the little red indicator light come on showing you that it has been correctly changed and inserted.
After following these steps and watching the video above you should have been able to successfully change your Perfect Air Plus filter. Keeping up with the changing of your PAP filter every 3 months will extend the life of your system and help your home have healthier air.
Logan Services is happy to provide you with Perfect Air Plus filters. If you need more filters, please visit our filter page to see what sizes we offer and how we can accommodate you in the Dayton, Columbus, and Cincinnati areas.
